
Meeting Room Partition Planning Checklist for Project Teams
Use this meeting room partition planning checklist to define room use, circulation, visibility, doors, interfaces and evidence before system review.

Meeting-room planning guide
Use this meeting room partition planning checklist to turn a room schedule into clear decisions about location, visibility, visual privacy, doors, building interfaces and evidence. It is a planning framework, not a substitute for project drawings or assembly-specific performance documents.
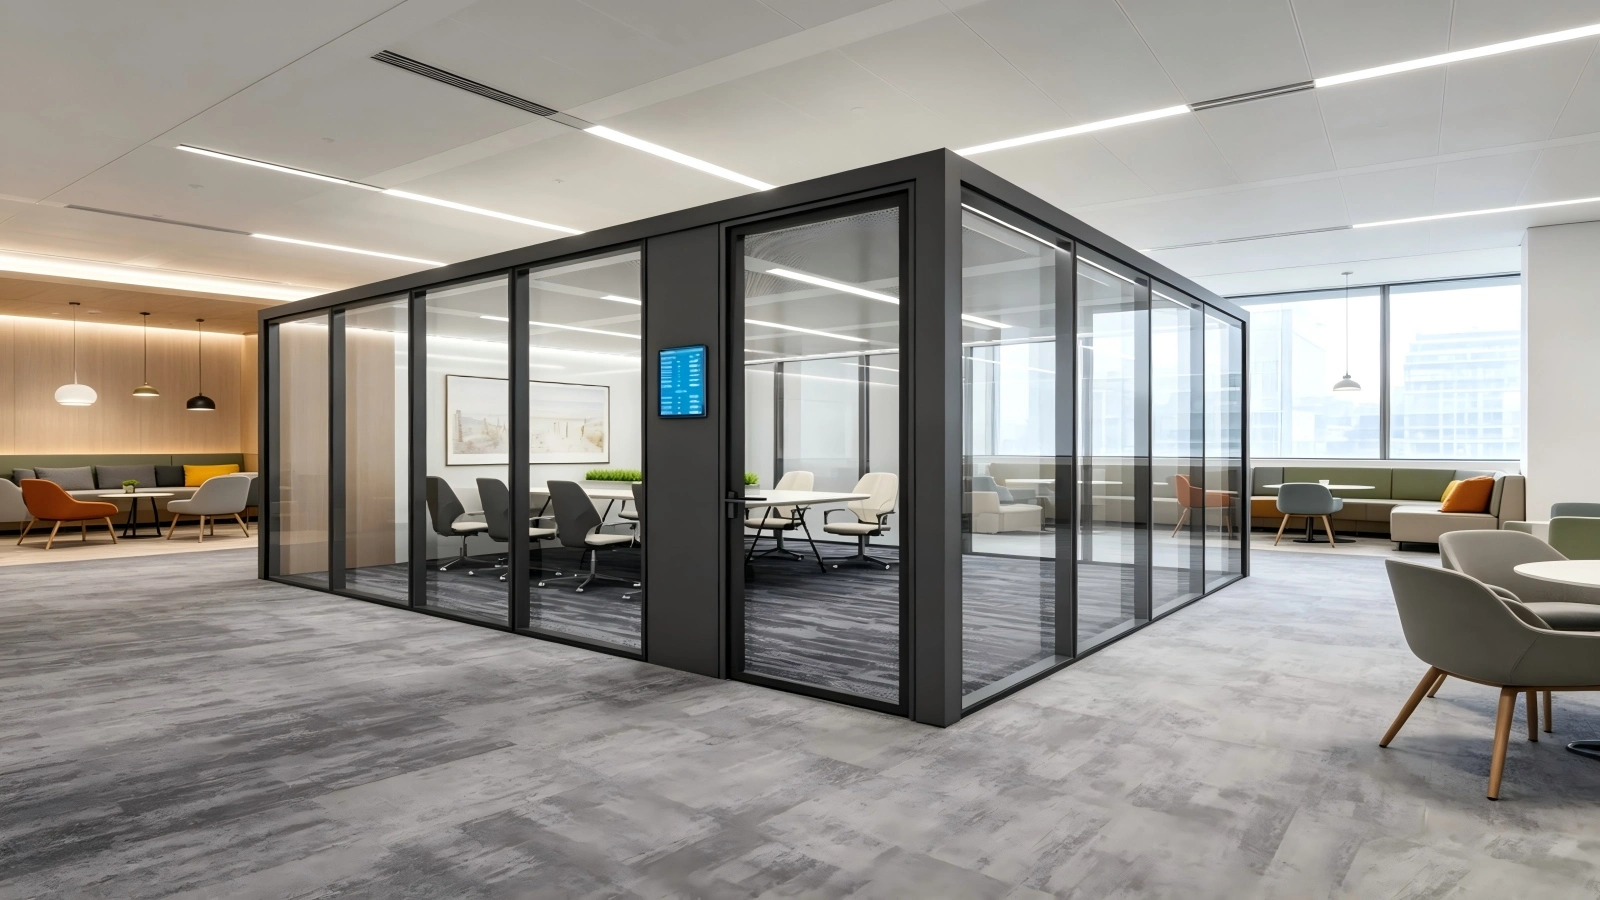
Meeting room partition planning checklist: the short answer
A meeting room partition planning checklist should cover seven decisions: room purpose and capacity inputs, adjacency and circulation, visibility and visual privacy, system route, door operation, building interfaces, and the evidence required before approval. Record acoustic, fire, safety and accessibility requirements as project-specific verification items. Do not assume that a product name, double glazing or an image proves a performance result.
Why a meeting room partition design checklist needs a defined role
A boardroom, a project room and a small interview room may all appear as enclosed rectangles on a plan, but their operational needs are not identical. A meeting room partition design checklist prevents the wall system from being selected before the project team has documented how each room will be used.
The checklist also separates this task from a general boardroom-design article. Furniture, presentation technology and brand expression may affect the wider interior brief, while this guide stays focused on the enclosure: where it starts and stops, what people should see, how they enter, which interfaces must be coordinated and which claims require evidence.
For a broader system briefing, use the existing office glass partition specification checklist. The room-specific document should then add the meeting-use decisions without duplicating the general specification owner.
Step 1: define conference room partition requirements by room type
Start with a room register rather than a preferred wall appearance. The conference room partition requirements for each space should identify the intended activity, expected meeting pattern, furniture concept, presentation wall, entry point and any need for screened views. Use ranges or project notes when final information is not yet approved; do not invent occupancy or performance values.
- Give every room a unique name or number that matches the plan.
- State whether the room supports short discussions, formal presentations, interviews, training or another approved use.
- Mark the principal presentation or display wall before locating doors and glass joints.
- Record whether corridor visibility is desired, limited or controllable.
- Identify any acoustic, fire, safety, accessibility or security criterion as an evidence request.
This first pass keeps conference room partition requirements comparable across multiple rooms. It also gives suppliers a clearer basis for identifying exceptions instead of treating every meeting space as the same assembly.
Step 2: use glass partition planning for meeting rooms to map movement
Glass partition planning for meeting rooms should be tested on the actual floor plan. Trace the approach from the workplace, reception or corridor to each entry. Check what happens when a door opens, whether people waiting outside interrupt circulation, and whether the proposed boundary conflicts with columns, ceilings or adjacent joinery.
Keep code and accessibility decisions with the qualified project team. For U.S. projects, the U.S. Access Board guide to entrances, doors and gates is a useful official starting point for understanding why clear width, maneuvering clearance, hardware and door approach must be checked. Other jurisdictions require their own current rules and approvals.
Planning note
A partition layout should not narrow, redirect or obstruct a required route without formal review. Treat egress and accessibility as project constraints, not as benefits delivered automatically by a partition system.
Step 3: build meeting room privacy planning into the visual brief
Meeting room privacy planning begins by distinguishing visual privacy from acoustic privacy. A frosted band, painted glass, internal louver or switchable transparent-to-opaque concept may change what people can see. None of those visual treatments, by itself, proves an acoustic result.
Mark the viewing direction on both sides of the proposed wall. Consider seated and standing sightlines, presentation screens, doors, adjacent workstations and the moment when someone enters the room. Then describe the intended visual state in plain language: clear, partially screened, opaque or controllable. The existing transparency and visual-privacy solution can help the project team review the available design routes.

When speech privacy matters, add the room to an acoustic evidence schedule. Request the exact tested assembly, including relevant glazing, framing, seals, junctions and doors, and have the project acoustic requirements reviewed by the responsible specialist.
Step 4: connect the meeting room partition planning checklist to a system route
The MySpaceOffice catalogue describes two principal modular glass-partition families. Great Wall uses a visible-frame architecture and includes side single, middle single, double-glass and internal-louver configurations. Everest uses a glass-forward or hidden-frame appearance and includes single, painted, double-glass and internal-louver configurations.
These catalogue facts help establish a visual and configuration shortlist; they do not choose the assembly for the project. The meeting room partition planning checklist should record the proposed family and configuration, then request current project-specific drawings and evidence. Use the modular partition systems overview to compare the current commercial routes without transferring one series’ facts to another.
| Decision | Record in the room schedule | Do not assume |
|---|---|---|
| Visual architecture | Visible-frame, glass-forward or another approved route | That a visual style proves performance |
| Glazing configuration | Named family and single-, double- or louver configuration | That double glazing guarantees an acoustic result |
| Privacy treatment | Clear, screened, opaque or controllable visual intent | That visual privacy equals speech privacy |
| Evidence | Current drawings, data and reports for the proposed assembly | That a catalogue image is technical proof |
Step 5: turn conference room partition requirements into a door brief
Doors affect circulation, visual privacy and the continuity of the enclosure. The conference room partition requirements should identify the opening location, direction of travel, swing or sliding concept, preferred visual relationship to the wall and any required hardware or access-control coordination. Final compatibility must come from the current partition-and-door schedule.
The commercial office door range shows available door categories, but category presence does not prove that every door works with every partition. Ask the supplier to confirm the exact frame, leaf, hardware, closer, lock, electrical and junction details for the selected combination.
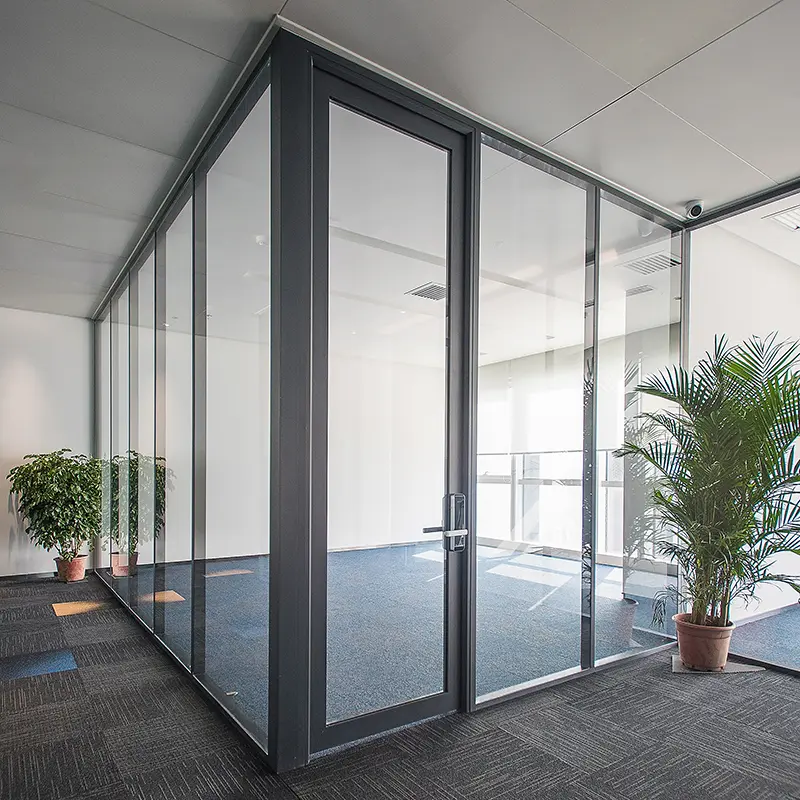
Step 6: complete the glass partition planning for meeting rooms at every interface
The catalogue’s node drawings show that glass partition planning for meeting rooms can involve head and base conditions, glass-to-glass joints, corners, three-way junctions, door frames, columns, cable routes and expansion joints. Those diagrams confirm the types of interfaces that need attention, but they are not a complete installation manual.
On the plan and reflected-ceiling information, mark each transition to existing construction. Record ceiling type, floor finish, perimeter wall, column, bulkhead, service route and any proposed display or control location. Ask the responsible design and installation teams to resolve substrate, fixing, tolerance, movement and service requirements for the real site.
Meeting room partition design checklist for interface review
- Head condition and ceiling coordination identified.
- Base condition and floor-finish transition identified.
- Corners, junctions and end conditions tagged on the plan.
- Door frame, hardware and any electrical interfaces coordinated.
- Columns, existing walls and expansion joints shown where relevant.
- Display, power, data and control interfaces assigned to responsible trades.
Step 7: close the meeting room partition design checklist with evidence
A meeting room partition design checklist is complete only when the review documents are named. Build a short evidence schedule that connects every critical requirement to the exact proposed assembly. The schedule may include current drawings, configuration data, finish samples, door and hardware information, installation proposals and assembly-specific test evidence where the project requires it.
For acoustic or fire performance, request the applicable report and tested assembly rather than copying an unverified number into the room schedule. For safety and accessibility, identify the governing jurisdiction and responsible reviewer. For materials, finishes, maintenance, programme and warranty, request current approved information rather than relying on assumptions.
Finish by issuing one coordinated room schedule with revision status, open questions, decision owners and approval dates. That makes the meeting room privacy planning, system selection and door coordination visible to the whole project team.
Frequently asked questions
What should be included in a meeting room partition planning checklist?
Include room use, adjacency, circulation, visual intent, proposed system and configuration, doors, site interfaces, service coordination, evidence requests and review responsibility. Keep performance values tied to current assembly-specific documents.
Does a glass meeting room automatically provide acoustic privacy?
No. Glazing appearance or the presence of two panes does not prove an acoustic result. Define the project requirement and request test evidence for the exact wall, door, seal and junction assembly.
How should meeting room privacy planning address corridor views?
Map standing and seated sightlines, screens, doors and adjacent workpoints. Then specify the required visual state and location of any screening treatment without describing it as acoustic privacy.
When should doors be selected?
Develop the door brief while the partition layout is being planned. Opening location, approach, operation, frame, hardware and interfaces can affect both the room and the surrounding circulation.
Can this checklist replace project drawings?
No. It organizes decisions and evidence requests. Qualified project teams still need to produce, coordinate and approve the drawings, specifications and jurisdiction-specific requirements.
Review your meeting-room partition brief
Share the room schedule, layout, visual-privacy intent, door requirements and evidence questions with MySpaceOffice. The team can discuss the current partition routes relevant to your project without assuming an unverified performance result.
Discuss Meeting-Room Requirements