Solid Partition Wall Installation: 5 Proven On-Site Steps

A solid partition wall installation project succeeds or fails on planning done weeks before the first panel arrives on site — pre-installation site survey, manufacturing coordination, MEP integration, and commissioning all need to happen in a specific sequence for the on-site install to complete in the promised 1-2 day window. This guide walks through the five proven steps of a smooth solid partition wall installation, based on approximately 400 commercial partition installations across BMW Brilliance Tiexi, Cushman & Wakefield, and other projects.
Why Solid Partition Wall Installation Planning Matters
A common misconception about solid partition wall installation is that it’s a “furniture-grade” install — pods and panels arrive, get bolted in place, and the office is done. This misconception leads to the two most expensive mistakes in partition installation projects: buying without adequate pre-installation planning, and treating the on-site install as the entire project timeline rather than as the final 10-15% of the project cycle.
The full project timeline vs the visible install
A typical commercial solid partition wall installation project runs 4-6 weeks from purchase order to occupied space:
- Week 1: Pre-installation site survey, final measurement verification, MEP coordination confirmation
- Weeks 2-4: Manufacturing, quality control, and coordination with adjacent trades (drywall painting, ceiling work, floor finishes)
- Week 5: Delivery scheduling, on-site preparation, protection of adjacent finishes
- Week 5-6: On-site installation (1-2 days per wall section, plus commissioning)
- Week 6: MEP final connections, testing, punch list, handover
The on-site install phase is only 15-25% of the calendar time. The rest is planning, manufacturing, and coordination — and it’s the rest that determines whether the on-site install phase happens on schedule or slips into a multi-week saga.
Comparison against drywall construction
The same office space built with drywall private offices typically takes 8-12 weeks from purchase order to occupied space — twice the timeline of solid partition wall installation. The compression comes primarily from three sources:
- Off-site manufacturing runs in parallel with site prep — Panels get built in factory while other trades work on site, versus drywall where studs, panels, mud, and paint all happen sequentially on site.
- No cure time for mud, tape, or paint — Drywall requires 4+ days of mud/tape cycles with 24-hour cure between coats. Solid partition wall assemblies ship pre-finished from factory.
- No permit lead time — Most jurisdictions classify solid partition wall installation as furniture-grade equipment rather than building construction, avoiding the 4-8 week permit cycle that drywall triggers.
See our modular partition installation time analysis for the equivalent breakdown on glass partition systems.
Step 1: Pre-Installation Site Survey and Coordination
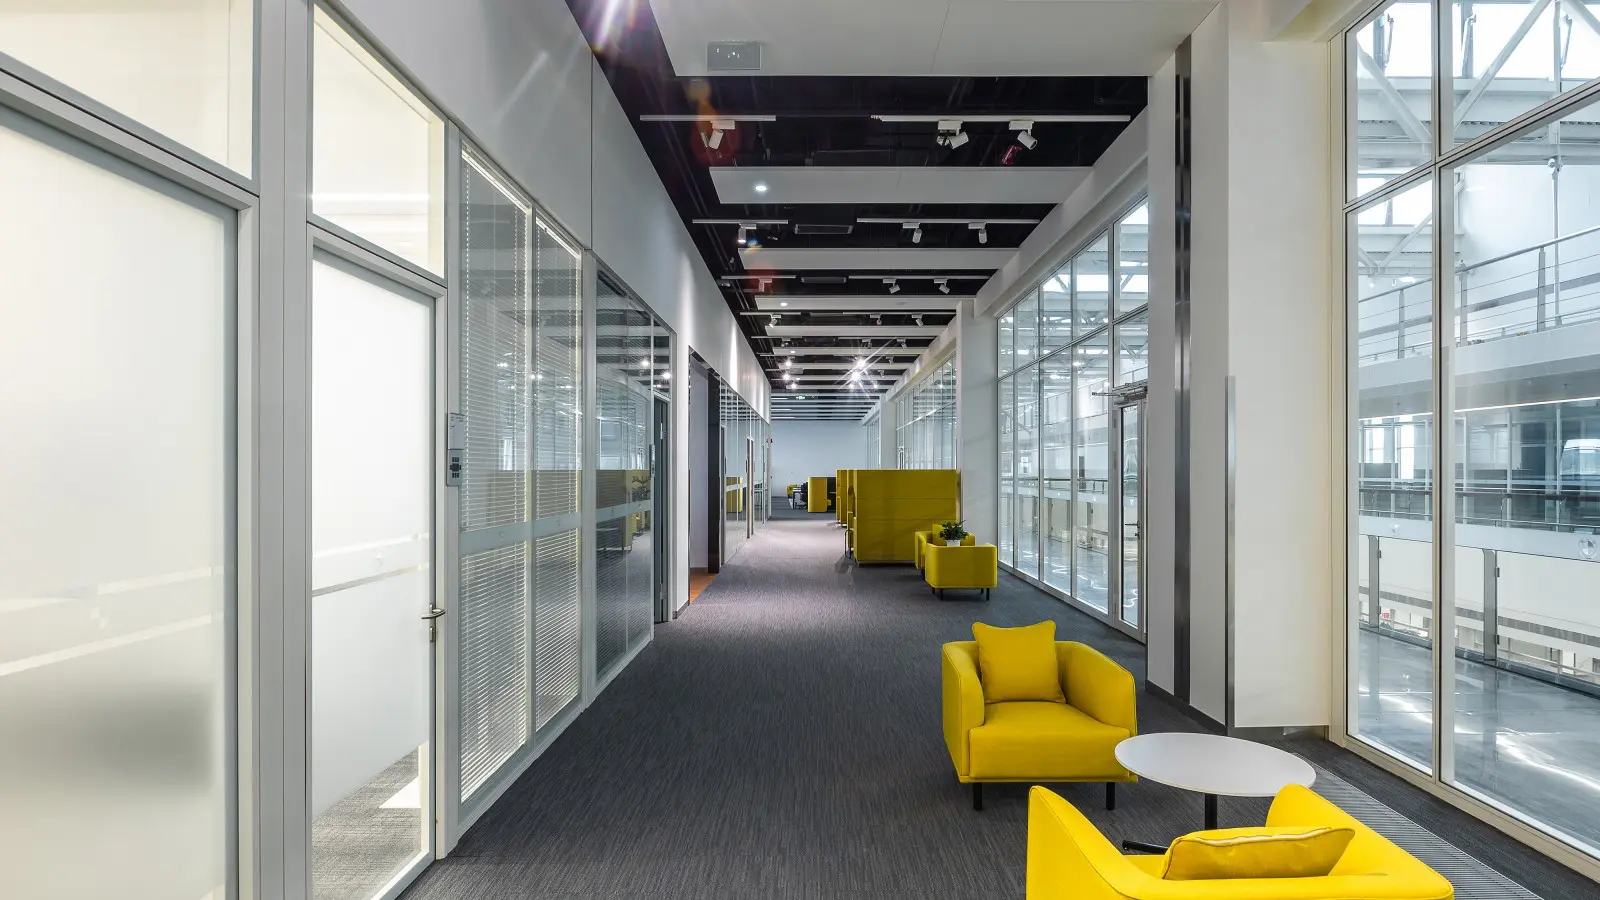
Every solid partition wall installation project begins with a physical site survey performed 2-3 weeks before manufacturing. This survey verifies that design-phase measurements match as-built site conditions — a step that seems redundant but catches issues that would otherwise surface on install day.
What the site survey verifies
- Floor level and flatness — Solid partition wall assemblies attach to floor tracks that require reasonably flat floors. Variance greater than 6mm across a 3-meter span requires floor leveling before install.
- Ceiling condition and structure — Head tracks attach to structural ceiling or suspended ceiling grid. The survey identifies the actual ceiling type at each planned partition location and confirms structural attachment points.
- Wall connection points — Where new partition walls meet existing walls, the survey verifies the existing wall condition, plumb, and any surface preparation needed.
- Column and obstruction locations — Design drawings sometimes miss existing columns, exposed MEP, or fixtures that need to be accommodated in the partition layout.
- Adjacent trade coordination — Confirming which trades (electrical, data, HVAC, ceiling, flooring) will be complete or partial at time of partition install.
Deliverables from the survey
The survey produces a coordination document that becomes the manufacturing specification: exact dimensions verified against site, ceiling attachment strategy per location, floor track specification, MEP integration points, and any construction sequencing requirements. This document — not the original design drawings — drives manufacturing.
Time investment
A typical site survey for a 500-1,000 m² partition scope takes half a day on site plus 2-3 days of documentation. This half-day investment prevents multiple days of site-day rework — the highest ROI activity in the entire solid partition wall installation project.
Step 2: Manufacturing Lead Time and Delivery Scheduling
Once the site-verified specification is complete, manufacturing begins. This is the longest calendar phase of the project — typically 18-25 working days for standard specifications, extending to 30-35 days for custom finishes or fire-rated assemblies.
Manufacturing sequence
- Frame extrusion and cutting — Aluminum or steel mullion profiles cut to verified dimensions (2-3 days)
- Panel infill preparation — Solid panels, glass panels, or specialty finishes prepared per specification (5-8 days)
- Finish application — Powder coating, painting, wood veneer bonding, or paint glass back-painting (3-5 days including cure time)
- Quality control — Dimensional verification, finish quality inspection, hardware pre-fit (1-2 days)
- Packaging and delivery preparation — Site-organized packaging (panels grouped by install location for efficient on-site unpacking) (1-2 days)
Coordination with other trades during manufacturing
While partitions are being manufactured off-site, other trades typically work on site: floor preparation, ceiling work, MEP rough-in, drywall for adjacent non-partition walls. Successful solid partition wall installation projects use this manufacturing window to complete adjacent work — arriving at partition install day with the site fully prepared. Projects that treat manufacturing as “dead time” and delay adjacent work end up with schedule conflicts on install day.
Delivery scheduling
Delivery typically arrives 1-2 days before install begins, giving the install team time to unpack, organize by location, and identify any transit damage before install pressure begins. Sites with limited storage space sometimes coordinate delivery in phases (one floor at a time, or one zone at a time), which requires additional coordination but can work when site storage is genuinely constrained.
For finish coordination between different partition types (e.g., matching mullion profiles across solid partition and glass partition sections), see our commercial solid partition specifications guide and paint glass partition guide.
Step 3: On-Site Installation Sequence (Day-by-Day)
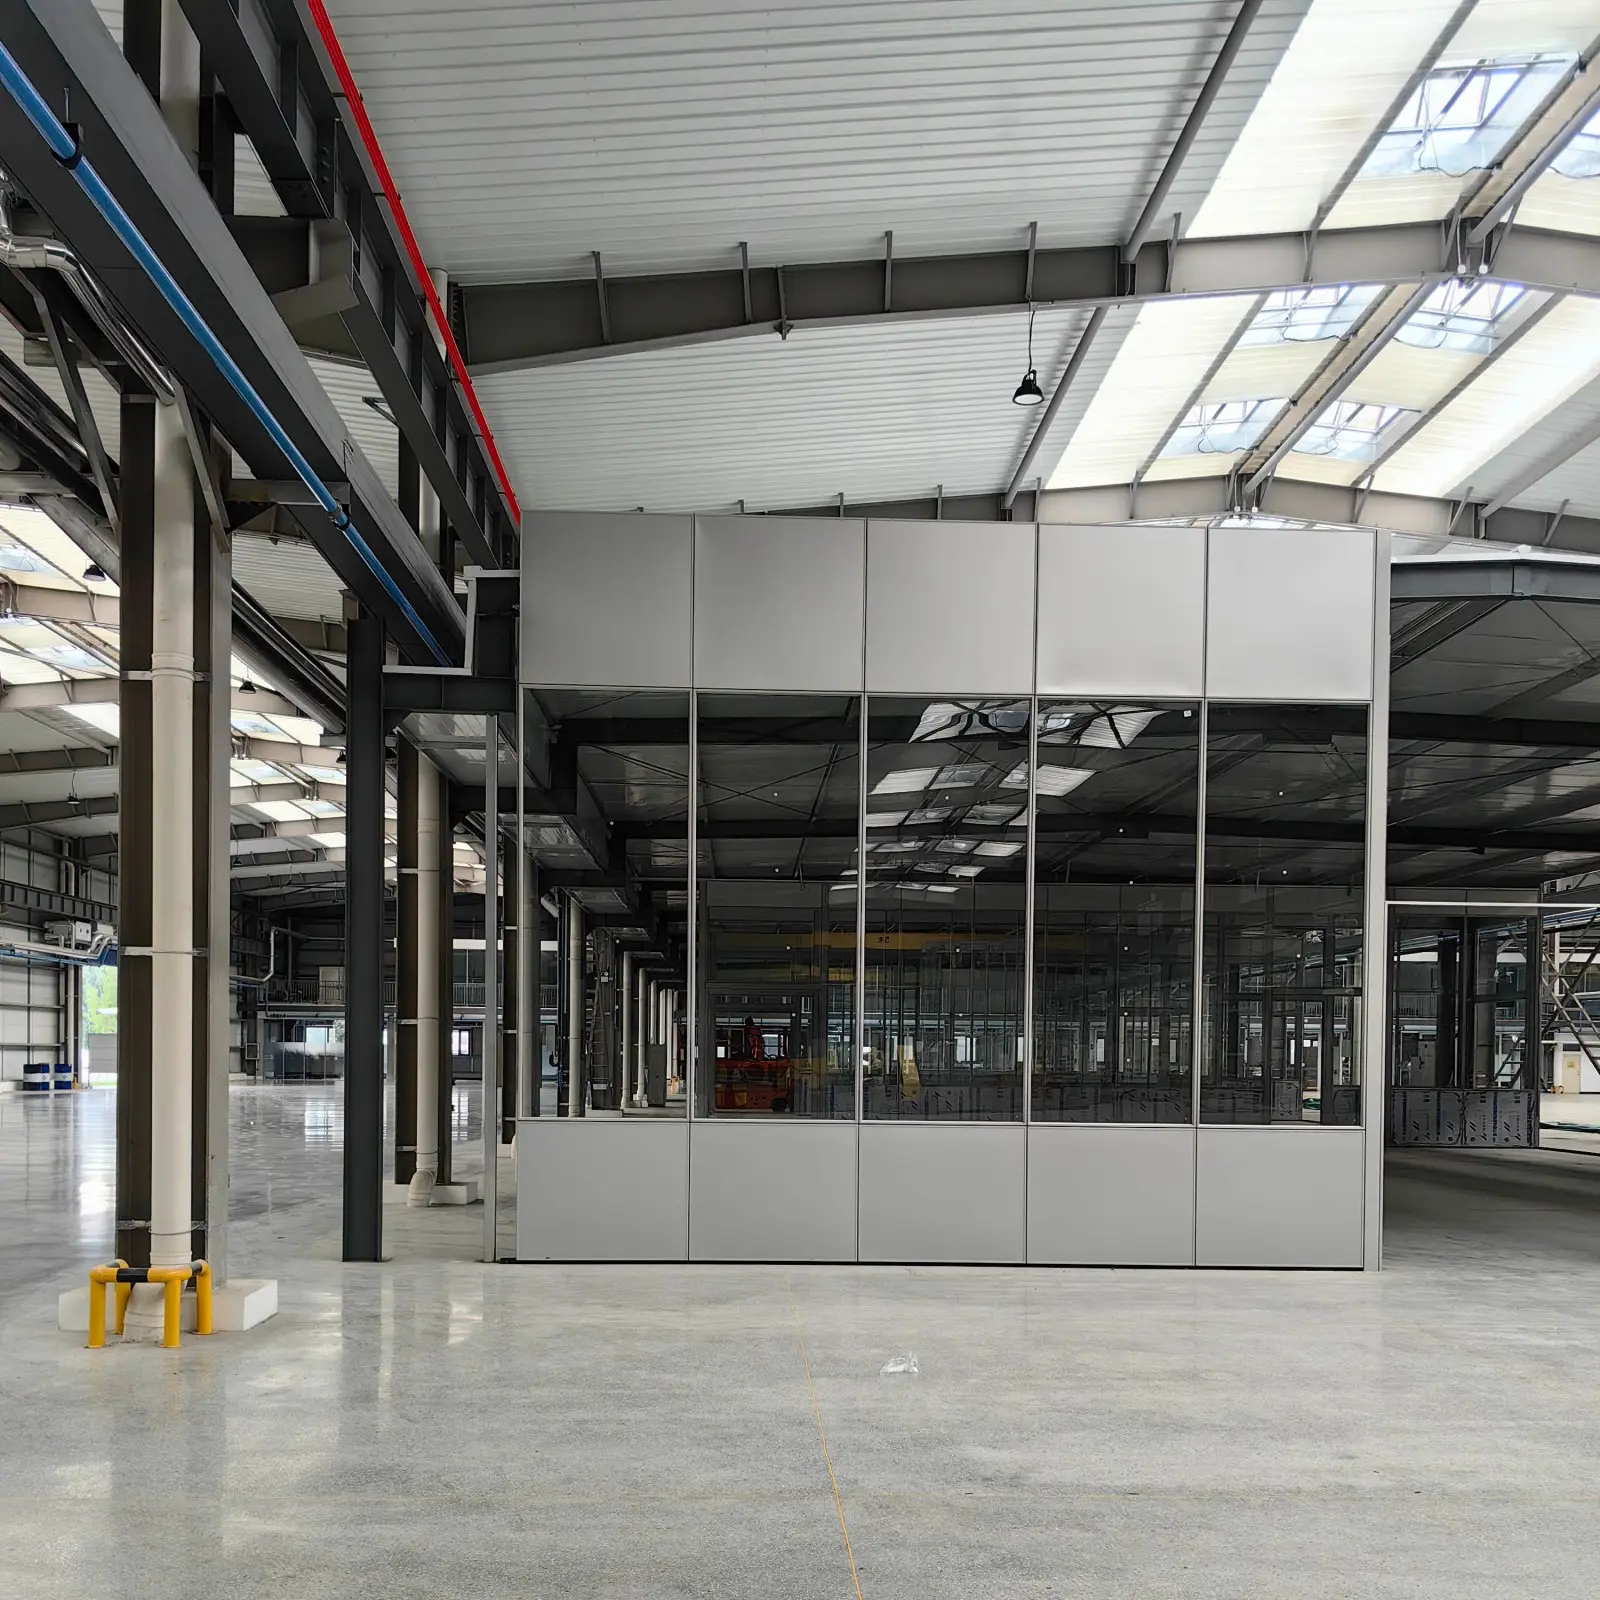
The on-site solid partition wall installation phase is where all the planning becomes visible. A typical single-corridor install runs 1-2 working days; a full floor plate install runs 3-5 working days depending on partition area and configuration complexity. Here’s how the days break down.
Day 1: Layout and floor track installation
The install team lays out partition locations using laser levels and the site-verified survey documentation. Floor tracks get anchored to the finished floor at all partition run locations. This is the day where any remaining measurement variances get caught and resolved — the last opportunity before panel install commits to the layout. Time on site: 4-6 hours for a typical single-corridor scope.
Day 2: Panel installation and head track
With floor tracks in place, panels install from one end of the corridor to the other. Each panel drops into the floor track, attaches to the adjacent panel or mullion via interlocking edges, and secures to the head track at the top. Door frames and glass panels install as part of this sequence — not as a separate step. Time on site: 4-8 hours for a typical single-corridor scope.
Day 3 (if needed): Finishing details and adjacent MEP
For scopes larger than a single corridor, Day 3 (and beyond) continues panel installation while also completing finishing details: edge trim, threshold pieces, hardware installation, integration with adjacent MEP (electrical face plates, data outlets, thermostat mounting). Complex installs may extend to Days 4-5 for large scopes.
Comparison with drywall install timeline
The same corridor built in drywall would take 10-15 working days (framing, panels, mud/tape × 3 coats with cure time, sanding, prime, paint × 2 coats, trim). Solid partition wall installation compresses this to 1-2 working days on site — the primary schedule advantage. See our detailed drywall alternative analysis for the full timeline comparison and cost model.
Step 4: MEP Integration and Coordination
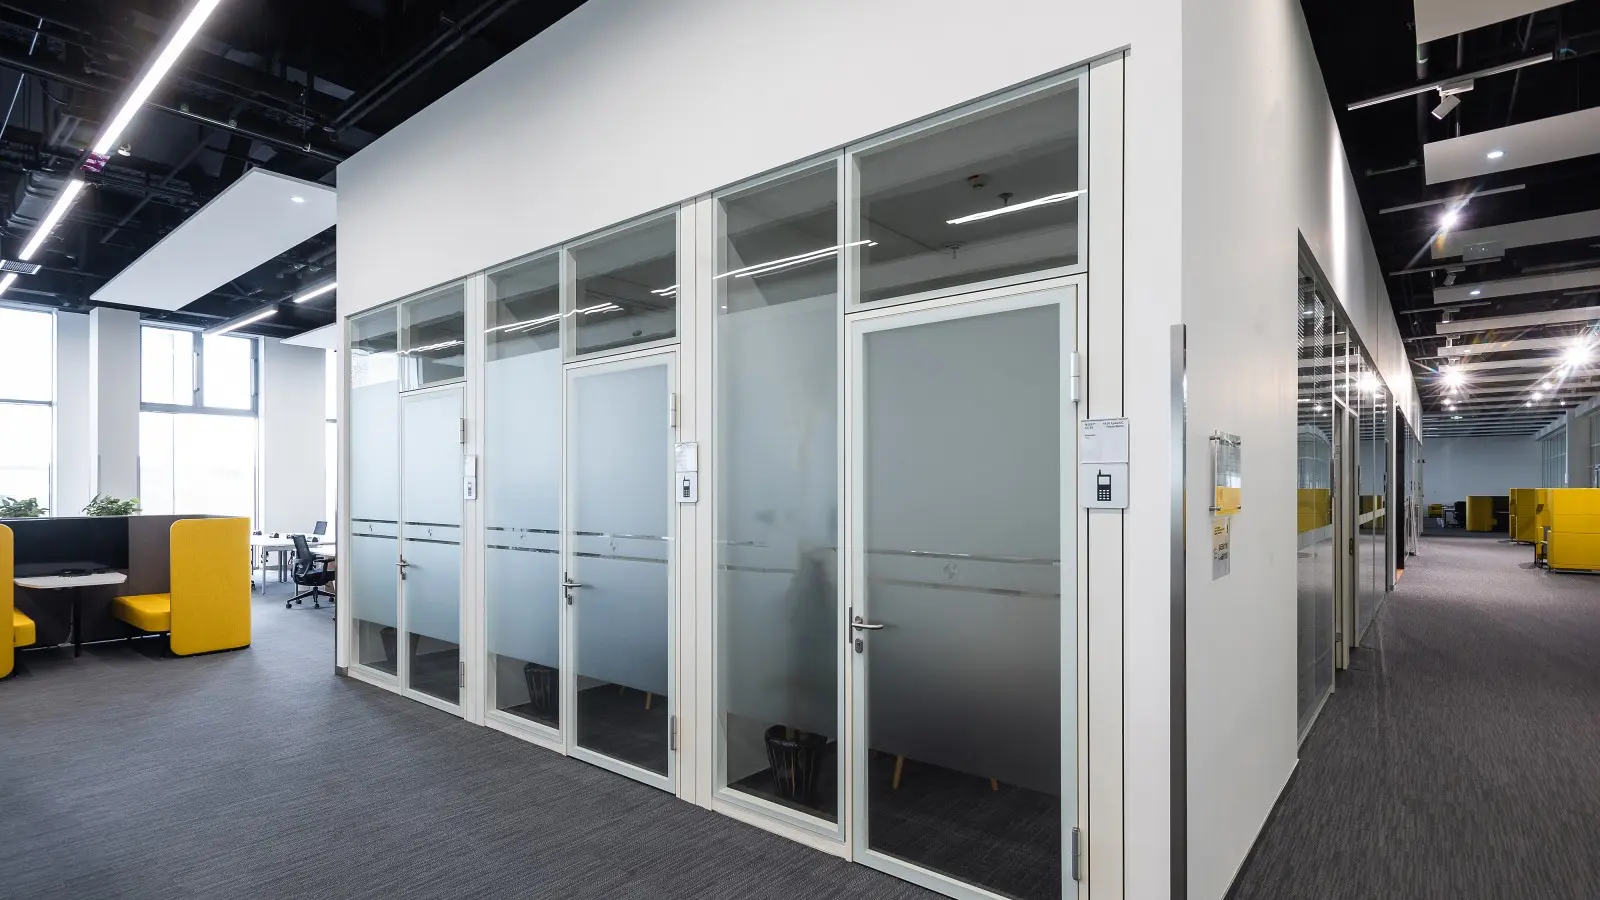
MEP integration (electrical, data, HVAC) is the coordination category where solid partition wall installation most differentiates from drywall — and where projects most often stumble when the coordination isn’t planned at manufacturing stage.
Electrical integration
Electrical outlets, light switches, and any partition-mounted controls integrate through cable raceways built into the mullion system. Standard practice: pre-wire the raceway paths at manufacturing so on-site electrical work is limited to pulling cables through the pre-defined paths and terminating at pre-cut outlet locations. Where controls need to comply with reach range requirements per US Access Board ADA reach range specifications, verify at manufacturing rather than adjusting on site.
Data and communications
Data outlets, phone jacks, and any partition-mounted communication equipment follow the same raceway approach as electrical. For projects with structured cabling, coordinate cable manager placement in partition raceways during manufacturing — retrofitting cable managers after install is expensive.
HVAC integration
Solid partition walls typically don’t include integrated HVAC (unlike some pod configurations), but they do interact with building HVAC in three specific ways:
- Airflow across partitions — Enclosed rooms need supply and return air paths. Confirm door undercut heights or transfer duct locations at design phase per ASHRAE 62.1 ventilation requirements.
- Zone thermostat locations — New partition-enclosed rooms may need thermostat additions. Coordinate placement in partition raceways.
- Ceiling diffuser positioning — Where partitions divide previously-open space, ceiling diffusers may need repositioning to serve each new zone appropriately.
Fire protection
For partition walls on fire compartment boundaries, coordinate sprinkler head placement, fire alarm strobe locations, and any smoke detector additions per NFPA 80 requirements. These typically require adjustments to existing ceiling-mounted fire protection systems, coordinated at design phase rather than during installation.
Step 5: Final Commissioning and Handover

The final commissioning step transitions the completed solid partition wall installation from construction phase to occupied use. This step is often compressed or skipped under schedule pressure — but skipping it leaves punch-list items that surface as user complaints after occupancy, when they’re much more disruptive to fix.
The commissioning checklist
- Dimensional verification — Measure clear widths and heights against specification, particularly at door openings where any variance affects daily use.
- Acoustic verification — Field-test acoustic performance against specified ISO 717-1 Rw ratings for rooms with critical acoustic requirements (boardrooms, HR spaces, executive offices).
- Hardware operation — Test every door, latch, lock, closer, and access-control device. Adjust closer speeds, latch alignment, and any hardware operating outside specification.
- Finish inspection — Walk every visible surface. Document scratches, dents, finish variations, or joint gaps that need touch-up. Assign each item to the install team, factory, or protection failure responsibility.
- MEP function test — Every outlet, switch, and integrated control gets tested. Any non-functional item goes on the punch list before handover.
- Documentation handover — As-built dimensioned drawings, hardware key/access documentation, warranty information, maintenance guidelines. This documentation matters for future reconfiguration decisions 2-5 years down the road.
Punch list resolution
A typical solid partition wall installation commissioning generates a punch list of 5-15 items depending on project size. Most items resolve within 1-2 working days by the install team; complex items (finish replacement, hardware substitution) may take 1-2 additional weeks depending on parts availability. Formal handover happens after punch list closure — not at end of on-site install.
Ongoing warranty and support
Standard warranty coverage: 12-18 months on hardware, 24-36 months on panels and structural components, 60 months on finish integrity for architectural coatings. Warranty coverage begins at formal handover date, not at manufacturing or delivery date — another reason to complete commissioning promptly rather than delaying formal handover.
Common Installation Mistakes to Avoid
These are the mistakes that appear most often in solid partition wall installation projects. All are avoidable at planning stage; all are expensive to correct on install day or after.
Mistake 1: Skipping the pre-installation site survey
The most expensive mistake in partition installation. Design-phase drawings represent the intended condition; site surveys verify the actual condition. Skipping the survey means every measurement variance gets discovered on install day, when it’s 3-5× more expensive to resolve. Fix: schedule the site survey 2-3 weeks before manufacturing, treat it as a hard schedule requirement not an optional extra.
Mistake 2: Coordinating MEP on site rather than at manufacturing
Retrofitting cable raceways into installed partition walls costs 4-6× more than pre-planning at manufacturing. Fix: complete MEP coordination during site survey (Step 1), transmit to manufacturing, verify on delivery. Any late MEP additions after manufacturing require partition re-order or on-site retrofit.
Mistake 3: Under-scheduling the delivery window
Same-day delivery-and-install seems efficient but leaves no time to identify transit damage, organize by install location, or catch missing components. Fix: schedule delivery 1-2 days before install begins. The half-day of “unproductive” time is insurance against install-day surprises.
Mistake 4: Treating punch list resolution as post-project cleanup
Rushing occupants into the space before punch list resolves creates two problems: existing punch items are harder to fix around occupied use, and new punch items get discovered by frustrated occupants rather than by the install team. Fix: complete punch list before occupancy handoff. If schedule pressure demands early occupancy, negotiate specific rooms or floors rather than treating the entire scope as occupied.
Mistake 5: Not documenting for future reconfiguration
Solid partition wall installation projects deliver the primary economic value over their reconfiguration lifecycle — but reconfiguration 3-5 years later requires accurate documentation of the original install. Fix: complete as-built documentation at handover, store in a location accessible to facility management, update after any reconfiguration.
Frequently Asked Questions
How long does a typical solid partition wall installation take?
The full project timeline from purchase order to occupied space is typically 4-6 weeks. The on-site installation phase is only 1-2 working days per corridor length, or 3-5 working days for a full floor plate. The remaining 4-5 weeks cover pre-installation site survey (3-5 days), manufacturing (18-25 working days for standard specifications, 30-35 for custom or fire-rated), delivery scheduling, and final commissioning.
Compare this against the same office space built in drywall private offices, which typically takes 8-12 weeks — the primary schedule advantage of solid partition wall installation is the compressed on-site window and the parallel manufacturing that runs while other trades work on site.
Does solid partition wall installation require building permits?
In most US jurisdictions, standard solid partition wall installation does not require building permits — the demountable, factory-finished nature of the system classifies it as furniture-grade office equipment rather than permanent construction. Permits are typically triggered when the installation affects fire compartmentation (fire-rated wall assemblies on egress corridor boundaries), when the installation modifies structural elements, or when local jurisdiction has specific tenant improvement (TI) permit requirements regardless of construction type.
Always verify with local building authority at design phase — the permit determination affects the 4-8 week permit lead time that either applies or doesn’t. For international projects, permit requirements vary widely by jurisdiction and require local verification.
Can solid partition wall installation happen in an occupied office?
Yes — one of the primary economic advantages of solid partition wall installation over drywall construction is the ability to install in occupied office space without extended shutdowns. Typical approach: schedule on-site install during off-hours (evenings or weekends), install one zone at a time with dust and noise containment, complete each zone within a single off-hours window.
Some projects successfully install during business hours with dust protection at the immediate work zone; this depends on the specific site conditions and occupant tolerance. Comparison against drywall: drywall construction in occupied space typically requires either full zone shutdown for 2-3 weeks or evening/weekend work at 30-50% cost premium; solid partition wall installation compresses this to 1-2 nights or a single weekend for equivalent scope.
What preparation is needed before the installation team arrives?
Pre-installation preparation focuses on site access, adjacent-trade completion, and MEP readiness. Site access preparation: confirmed loading dock access, elevator scheduling for material movement, secure storage area for panels awaiting install. Adjacent-trade completion: floor finishes at install locations complete, ceiling grid installed if partitions attach to grid rather than structure, walls receiving perpendicular partition connections at final finish. MEP readiness: rough-in electrical and data pulls to partition locations complete, structured cabling backbone in place, HVAC ductwork positioned to serve future partition-enclosed zones.
Missing preparation items don’t cancel install day but they do compress the install schedule and generate change orders. The site survey (Step 1) verifies preparation status about 1 week before install begins, allowing preparation gaps to be resolved before install team arrival.
How do I coordinate solid partition wall installation with other construction trades?
Successful multi-trade coordination for solid partition wall installation projects follows a specific sequence: ceiling grid before partition install (partitions attach to grid); floor finishes complete before partition install (floor tracks anchor to finished floor); rough-in MEP complete before partition install (walls hide cable pathways); adjacent drywall complete before partition-to-drywall connection detail; final MEP terminations after partition install (outlets install into partitions); paint and touch-up after partition install (protecting new partition finishes).
Weekly coordination meetings during the pre-install phase surface conflicts early. Assign one project team member (typically the general contractor’s PM or the tenant’s facilities lead) as coordination lead — dispersed responsibility across multiple trades produces the coordination failures that generate change orders.
What warranty coverage is typical for solid partition wall installation?
Standard commercial solid partition wall installation warranty coverage varies by component category: 12-18 months on hardware (locks, hinges, closers, latches); 24-36 months on panels and structural components (frames, mullions, panel infill); 60 months on finish integrity for architectural coatings (powder coat, paint glass, wood veneer); 24 months on installation workmanship.
Warranty coverage begins at formal handover date, so delayed handover due to unresolved punch list items delays warranty start. Extended warranty options (24 months on hardware, 60 months on components) typically add 3-5% to base cost and are worth specifying for facilities with long expected occupancy or limited maintenance capability. Always retain the as-built documentation and original specification — warranty claims require documentation of the original installation.
Planning Your Solid Partition Wall Installation Project
The five steps covered in this guide — pre-installation site survey, manufacturing coordination, on-site install sequence, MEP integration, and final commissioning — organize what looks like a 6-week logistical challenge into sequenced decisions that keep the project on schedule. Getting the first two steps right (survey and manufacturing coordination) prevents 80% of the schedule delays that typical solid partition wall installation projects experience.
To explore product configurations for your installation project, visit our solid partition product page for technical specifications, review the commercial solid partition specifications guide for the 5-dimension specification framework, or see the installation approach in context through our six-applications analysis and reception design guide.