
Glass Partition Installation: 7 Proven Steps, Best Results
Tempered glass cannot be cut on site, so glass partition installation is won or lost before the crates are opened. Seven steps from survey and shop drawings to storage, framing, glazing, doors and handover, with what to check at each one.

Glass partition installation goes wrong in a different way from drywall. A stud wall can be trimmed, patched and repainted on the day; a tempered glass pane cannot be cut once it leaves the factory, so most of the risk is decided before anyone opens a crate. This guide sets out the 7 proven steps we follow, what to check at each one, and where projects usually lose time.
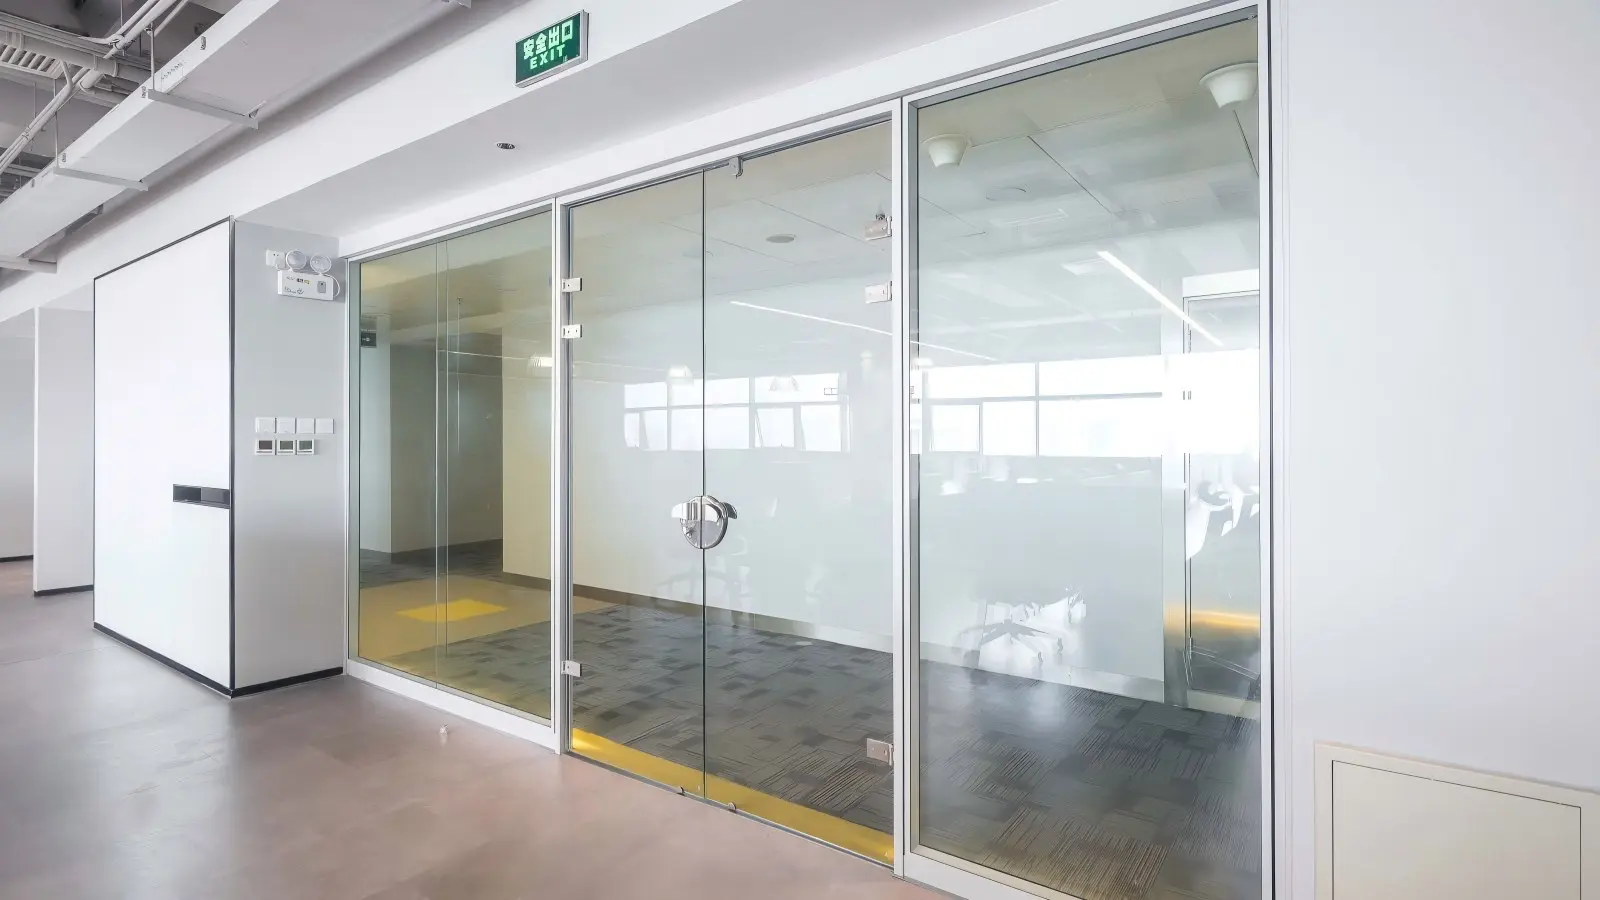
Why Glass Partition Installation Is Different
The general sequence for any modular wall is covered in our partition wall installation guide, and solid panels have their own solid partition installation guide. Glass partition installation shares the same frame logic, but three properties of the glass change how each step is run.
Tempered glass cannot be altered on site
Interior partition glass is normally tempered safety glass. As one tempering supplier puts it, glass cannot be cut or worked after the tempering process; cutting, edgework and drilling all have to be finished before the glass is tempered. A pane that arrives 10mm too long is not trimmed. It is reordered, and the room waits for it.
Glass edges are the weak point
Vitro’s handling guidance notes that damage from handling weakens glass even when it is not visible, listing chips and edge defects among the causes. Its TD-112 bulletin advises lifting glass rather than dragging it and keeping racks and padding free of debris. On a busy fit-out floor, that discipline has to be planned rather than assumed.
Safety glazing has to be identifiable
Building codes based on the International Building Code require each pane of safety glazing in a hazardous location to carry a permanent manufacturer’s designation, such as an etched or ceramic-fired mark. The wording is set out in section 2406.3, for example as adopted in Massachusetts. Glass partition installation therefore includes checking that the panes delivered are the panes specified, marked as the code expects.
Step 1: Survey the Site Before Anything Is Made
Every glass partition installation starts with a measured survey of the finished conditions, not the architectural drawings. The survey decides the panel sizes the factory will cut and temper, so it is the step where an hour saved costs a week later.
What to measure
- Floor-to-ceiling height at every module position, not one height per room.
- Floor level along the wall line, including screed joints, raised floor edges and floor boxes.
- Ceiling type at the head: suspended grid, plasterboard bulkhead or exposed slab.
- Columns, window mullions and existing walls the glass will meet at its ends.
- Services that cross the wall line: sprinklers, ducts, data and power runs.
How much error the frame can absorb
Our modular frames are designed to take up normal site variation. The Great Wall and Everest systems both use an 85mm adjustable skirting with ±15mm of travel, and module width adjusts ±8mm on both sides. Our catalogue describes this as absorbing length and height error of around 2cm. That covers an uneven slab; it does not cover a survey taken from the wrong drawing.
When to survey
Survey once the ceiling line and floor finish are fixed. Measuring before the ceiling grid goes in, or before a raised floor is levelled, is the most common reason a glass partition installation ends up with panels that are right for the drawing and wrong for the room.
Step 2: Approve Shop Drawings and the Glass Schedule
Shop drawings turn the survey into a parts list. For glass partition installation they need sign-off from whoever owns the design, because once tempered panes are in production the decisions on them are final.
What the drawings should fix
- Module widths and heights for each bay. Our standard modules run from 1200 to 3600mm high and 400 to 1600mm wide.
- Glass type and thickness per pane: 5 to 12mm for Great Wall, 5, 6 or 8mm for Everest. Our glass partition thickness guide explains how to choose.
- Door positions, swing direction, door type and hardware.
- Cable management modules where power or data must pass: 105mm, 178mm or a custom solid module.
- Manifestation, film or branding bands, and where the safety glazing marks will sit.
Why the glass schedule matters
A glass schedule lists every pane with its size, type, thickness and location. It is what the factory tempers against and what the glass partition installation team unpacks against, so a pane missing from it is a pane missing from the floor. Our specification checklist covers the wider set of decisions that belong in the order.
Step 3: Deliver, Store and Handle the Glass
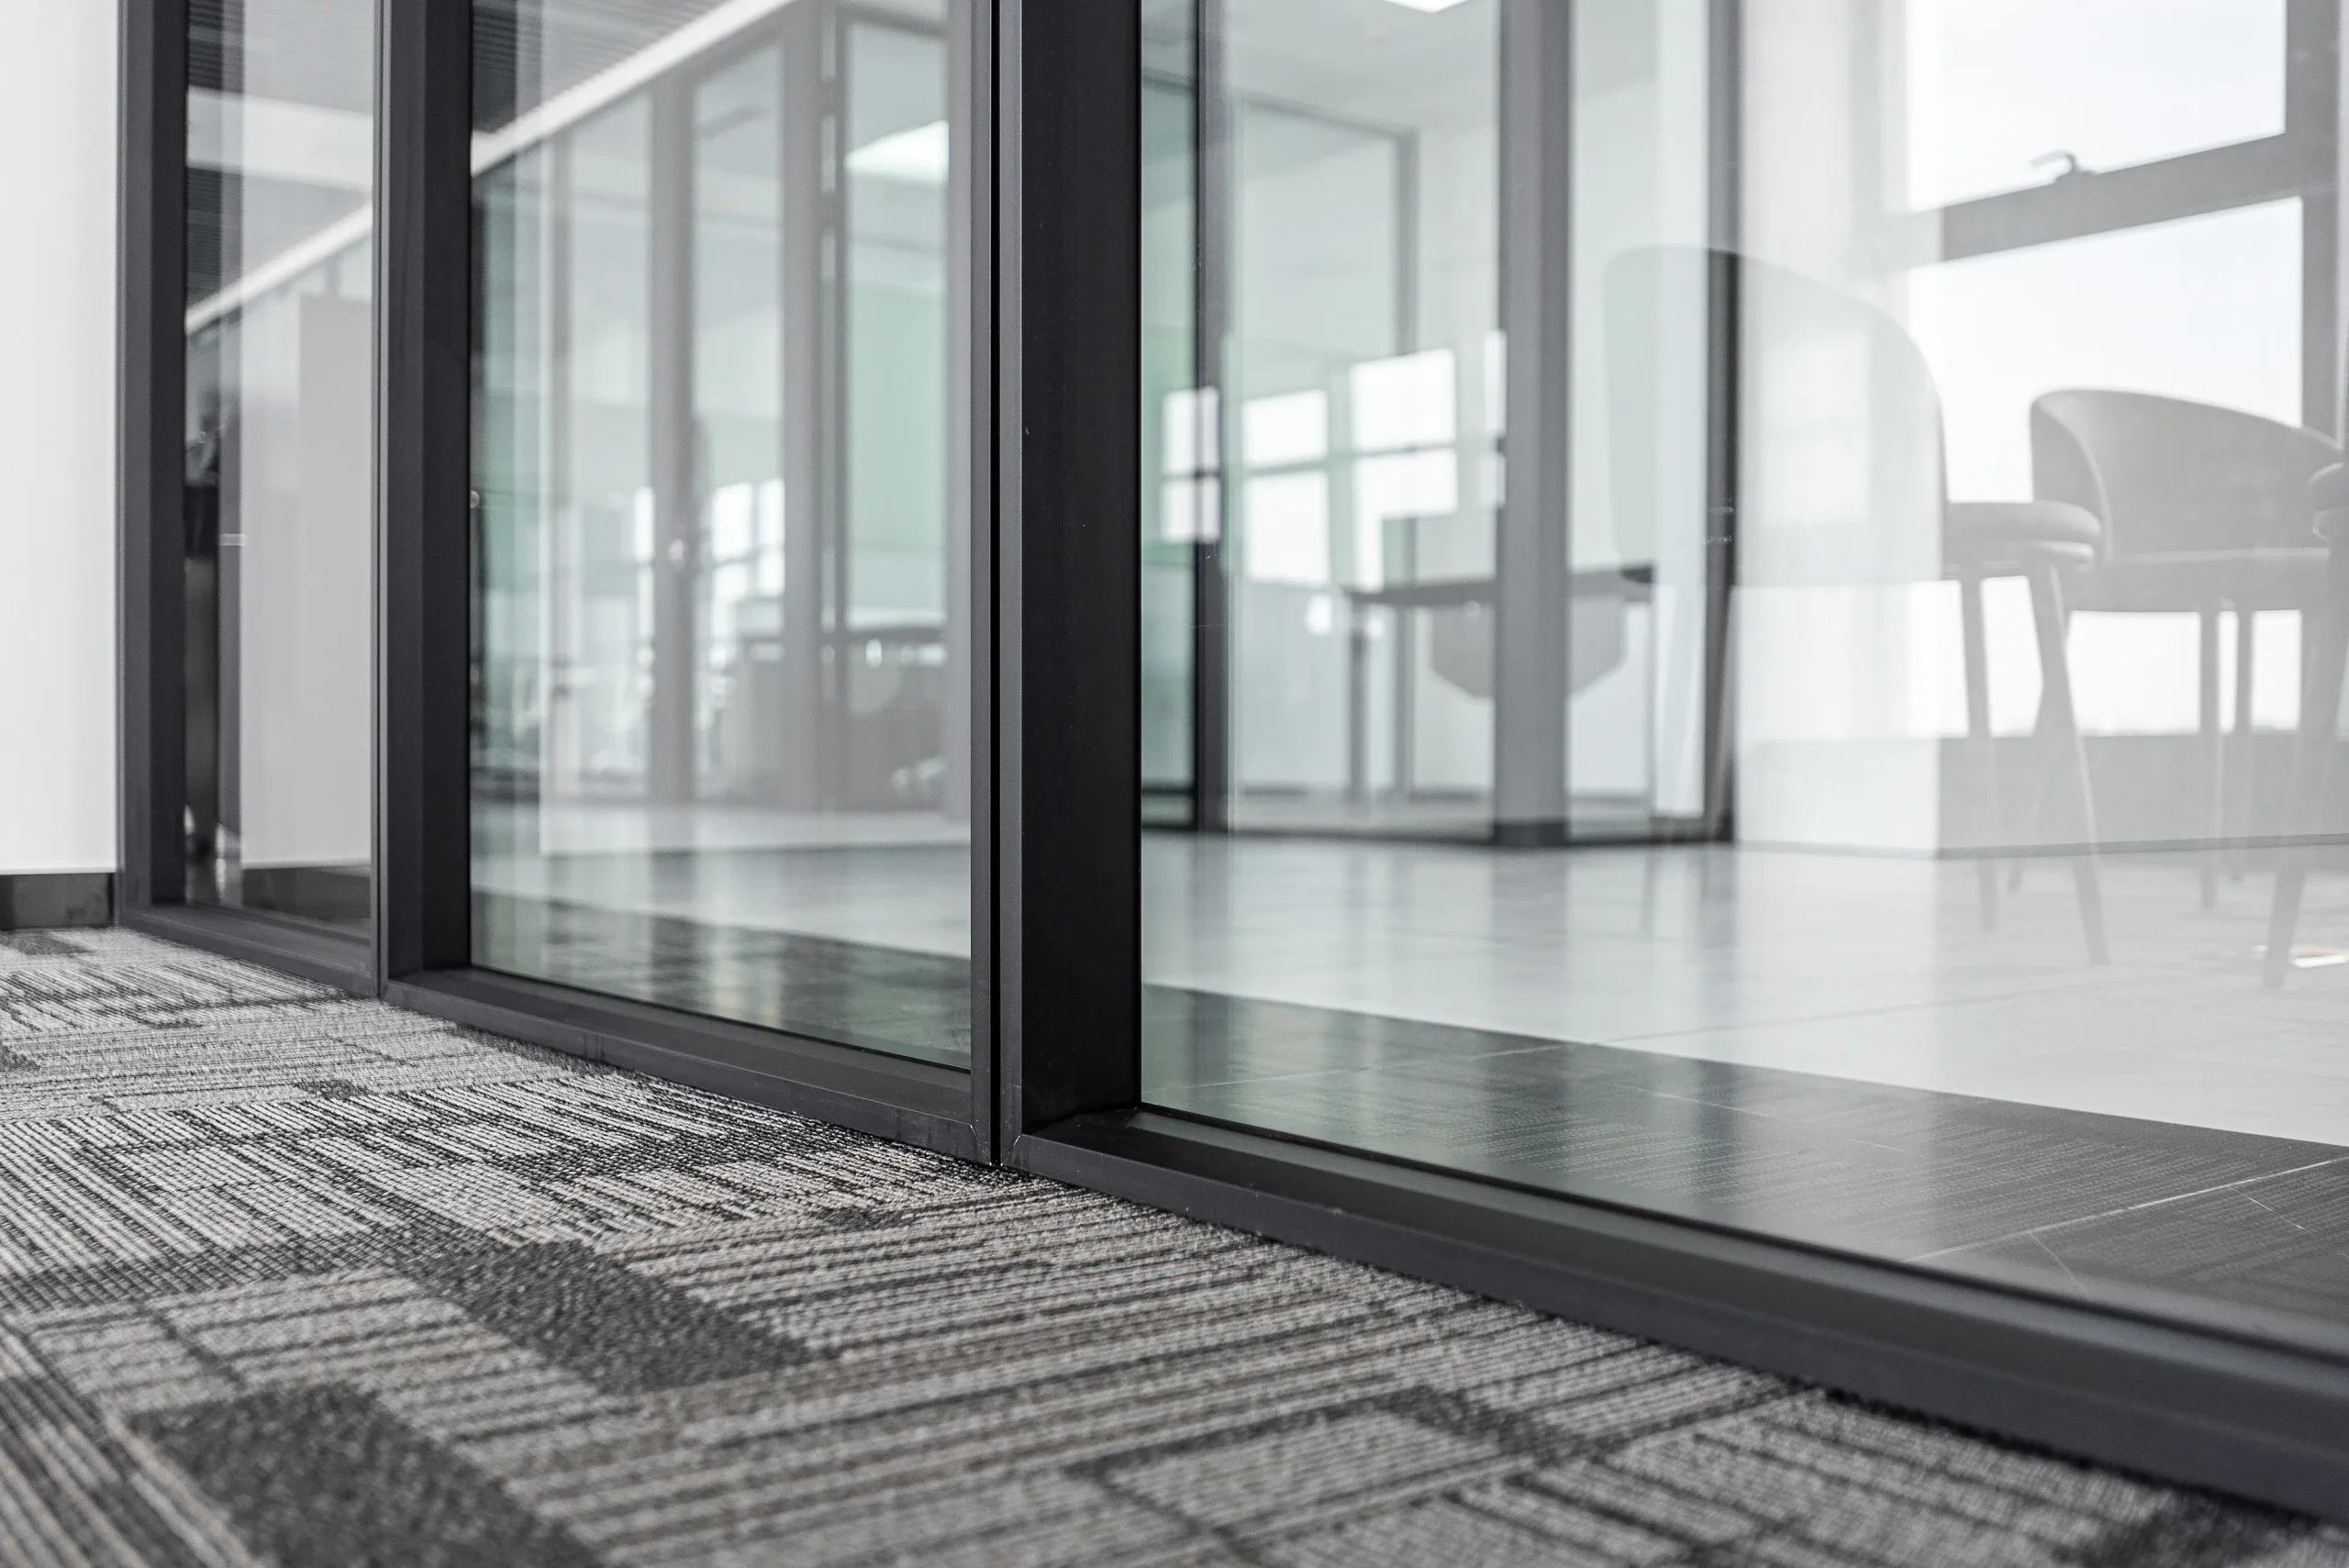
Delivery is the first point in a glass partition installation where the glass meets the building site, and the site is not designed for it. Plan delivery as close to glazing as the programme allows, so crates spend as little time as possible near other trades.
Storage
The National Glass Association’s site protection bulletin, FB03-03, recommends keeping stored glass off the floor on blocks well above potential puddles, under a secure cover that still allows ventilation, and away from high-traffic areas. It also warns against leaving open packs in direct sunlight and against exposing stored glass to welding, painting, concrete and masonry work.
Handling
Lift panes, never slide them across a floor or a trestle. Keep the edges off hard surfaces, including the corners of door frames and lift thresholds. Store panes of equal height together, as Vitro’s TD-112 recommends, rather than leaning a small pane against a large one.
Inspect on arrival
Open each crate against the glass schedule before the delivery driver leaves; on a glass partition installation this is the cheapest check of all. Check sizes, thickness, edge condition and safety glazing marks. A chipped edge found at delivery is a supplier claim; the same chip found at handover is an argument about who caused it.
Step 4: Set Out and Fix the Frame
The frame is where glass partition installation becomes accurate or stays approximate. Set-out lines go on the floor and are transferred to the ceiling with a plumb line or laser, so the head and base of each module sit in the same vertical plane.
Head and base fixing
In glass partition installation, fix head and base tracks to the substrate the survey identified. A suspended ceiling grid is not a structural fixing, so where the wall meets a grid the head detail needs a fixing to the structure above or a bulkhead built for the purpose. The architect or ceiling contractor should confirm that detail before framing starts.
How our modules connect
Our frames are unit-based modules with 45-degree profile corners joined by internal cast angle brackets in the factory. On site, modules connect to each other with H-shaped cold-rolled steel keels plus a U-shaped hard plastic secondary fixing. The aluminium profiles are 1.2mm thick and the door frames 2.1mm, and the finished wall is 74mm thick.
Level and plumb before glazing
Use the adjustable skirting to bring each module level and the width adjustment to close joints. Check plumb on every upright. Glass will follow the frame it sits in; a frame out of plumb shows up later as a door that will not close or a joint that opens along its height.
Step 5: Glaze the Modules
Glazing is the step most people picture when they think of glass partition installation, and on a well-prepared site it is one of the quicker ones. How it runs depends on the system.
Visible-frame glazing
On the Great Wall series, glass and frame use a snap connection sealed with EPDM rubber strips. The EPDM also acts as the shock-absorbing gasket between glass and aluminium. Seat the gasket fully along every edge; a lifted gasket is visible, rattles under door slam and weakens the acoustic seal.
Hidden-frame glazing
On the Everest series, glass is bonded to the frame with 3M adhesive tape, which is what gives the continuous curtain-wall look. Those modules are handled as finished units. Treat the bonded edge as you would a glass edge: no levering, no point loads, and no forcing a module into an opening that is too tight.
Check the marks and the faces
Before closing up each bay, confirm the safety glazing mark is present and that coated, painted or film-faced panes are facing the right way. Painted glass, for example, is painted on its interior face. Reversing a pane at this stage costs minutes; discovering it at handover costs a removal.
Step 6: Hang Doors and Fit Hardware

In a glass partition installation, doors go in after glazing, once the frame is loaded and stable. Hanging them earlier means adjusting them twice.
Door types our frames accept
Our modular frames take 10mm or 12mm tempered glass doors, 40mm profile doors and wooden doors. The full range of office glass door options, including sliding, framed and automatic types, is on our doors page, and our partition door types guide compares them by room.
Adjust, then test
Set hinges or pivots so the door swings freely and closes onto its stop without binding. Check the gap around the leaf for consistency, the closer speed, the lock or access control, and the seals. Then open and close every door repeatedly; doors are the moving part of a glass partition installation and the first thing an occupant will judge.
Step 7: Protect, Clean, Inspect and Hand Over
The last step of glass partition installation is the one most often cut short, and it is where most glass gets damaged. Ceiling work, painting, flooring and furniture all happen around a finished glass wall.
Protect the glass from other trades
The NGA bulletin lists weld splatter, paint, plaster, sealants and fireproofing as exposures to avoid, and recommends that the contractor inspect and document the condition of installed glazing daily. A daily walk with photos settles most damage disputes before they start.
Clean it the right way
GANA’s bulletin on cleaning architectural glass recommends soaking the surface with clean water and a mild, non-abrasive solution first, keeping metal parts of cleaning equipment off the glass, and cleaning a small area before continuing. It singles out concrete and mortar slurry as especially damaging and to be washed off as soon as possible.
Inspect and hand over the glass partition installation
Finish the glass partition installation by walking the wall with the client in good light. Check every pane for scratches and edge damage, every joint for alignment, every gasket for seating and every door for operation. Record the snag list against the glass schedule, so each item points to a specific pane rather than a general complaint.
Double Glazing, Fire Rated and Smart Glass
Three specifications change the glass partition installation sequence enough to plan for separately.
Double glazing
Double-glazed modules carry two panes with a cavity between them: 47mm spacing on Great Wall and 64mm on Everest. During glass partition installation the cavity must be cleaned before it is closed, because dust inside it cannot be removed later without opening the module. Our double glazed partition guide covers the acoustic side, where the published figure reaches up to 45dB.
Fire rated
A fire rated wall performs as tested only when its glass partition installation matches the tested assembly. Glass, gaskets, fixings and the head and base details should follow the test evidence rather than site improvisation. Our fire rated glass partition guide explains what the ratings mean and what to ask for.
Smart glass
Switchable glass adds an electrician to the glass partition installation sequence. Plan the cable route through a cable management module, agree who connects the power supply, and test each pane before the frame is closed. The choice between laminated smart glass and retrofit film is covered in PDLC film vs smart glass.
Glass Partition Installation Checklist
The seven steps of glass partition installation, with what to check and the record each step should leave behind.
| Step | Check | Record |
|---|---|---|
| 1. Survey | Heights per module, floor level, ceiling type, ends, services | Measured survey drawing |
| 2. Shop drawings | Module sizes, glass type and thickness, doors, cable modules | Signed drawings and glass schedule |
| 3. Delivery and storage | Sizes, edges and safety marks against the schedule; dry, raised, covered storage | Delivery check sheet |
| 4. Frame | Set-out, head fixing to structure, level and plumb | Frame sign-off before glazing |
| 5. Glazing | Gaskets seated, bonded units undamaged, marks and coated faces correct | Bay-by-bay glazing log |
| 6. Doors | Swing, gaps, closer, lock or access control, seals | Door operation test |
| 7. Handover | Daily protection checks, correct cleaning, final walk in good light | Snag list against the glass schedule |
Common Glass Partition Installation Mistakes
- Surveying before the ceiling is fixed. The panels are made to a height that no longer exists.
- Treating the ceiling grid as a fixing. The head of the wall moves when the grid does.
- Delivering glass too early. Crates sit beside plastering and painting for weeks.
- Sliding panes across the floor. Edge damage does not always show at once.
- Hanging doors before the frame settles. Every door is adjusted twice.
- Dry-wiping dust off new glass. Grit trapped under a cloth scratches the surface.
- No daily inspection record. Damage is found at handover with no way to trace it.
None of these is specific to one supplier. They are the reasons a glass partition installation runs over, and each one is avoided by a check that takes minutes at the right step.
Frequently Asked Questions
Can glass partition panels be cut to size on site?
Not if they are tempered, which interior partition glass normally is. Tempered glass cannot be cut, drilled or edge-worked after tempering, so every pane is made to the surveyed size. That is why the survey and shop drawings carry so much weight in a glass partition installation, and why the frame has adjustment built in for small site variations.
How long does glass partition installation take?
It depends on wall length, number of doors and site access, so we do not quote a fixed figure. Our published comparison is that modular construction cuts the construction period by 70% against conventional build, largely because frames and modules are factory-made. Our guide to modular glass partition construction time looks at the programme in more detail.
Who should install the glass partitions?
Either the supplier’s own team or a local contractor working to the supplier’s drawings. What matters is that the installer follows the manufacturer’s details for head fixing, glazing and doors, and that fire rated walls are installed to their tested assembly. Our partition wall installation guide discusses when a specialist is worth it.
Can glass partitions be moved and reinstalled later?
Yes, that is the point of a demountable system. The published reuse rate for our modular range is 95%. Reinstallation follows the same seven steps, with one addition: inspect every pane and gasket when it comes out, because a damaged edge is easier to catch in the factory crate than in the new room. Our demountable wall system guide explains how the parts come apart.
What should I check at handover?
Check every pane in good light for scratches and edge chips, every joint for alignment, every gasket for seating, and every door for swing, closing and locking. Confirm the safety glazing marks are present where the code requires them. Record anything you find against the glass schedule, so each item is traceable to a specific pane.
Planning a Glass Partition Installation?
Send us your floor plan and ceiling details, and tell us whether the ceiling and floor finishes are fixed yet. Our engineering team will come back with the system, the module layout and the survey points that matter for your site, before anything goes into production.