
Mini Office Installation Guide: 5 Proven Steps from Site Prep to Handover

A successful mini office installation depends on five proven steps executed in the correct sequence: site preparation, delivery and placement, structural assembly, utilities integration, and handover with the post-install checklist. This guide walks through each phase, covering the specifications, tools, and coordination sequences that separate a smooth 4-hour install from a two-day delay. Whether you’re planning a single office pod or a multi-unit deployment, the sequence below reflects the standard used by professional installation teams.

Pre-Installation Planning Overview
A well-planned mini office installation begins 3-4 weeks before delivery day. The pre-installation planning phase determines whether the actual install runs 4 hours or 4 days. Three planning tracks run in parallel: site readiness, utility coordination, and delivery logistics.
Three planning tracks for mini office installation
1. Site readiness. The mini office installation site must be structurally cleared, floor-load verified, and dimensionally confirmed. Site readiness includes ceiling clearance verification (typically pod height + 30-45 cm), floor levelness (±3 mm across the pod footprint), and access route measurement from loading dock to install location.
2. Utility coordination. Every mini office installation requires electrical service (typically dedicated 20A circuit per pod for lighting, ventilation, and outlets) and ventilation planning (either ducted integration with building HVAC or self-contained fan units). Utility coordination should engage the building’s electrical trades and mechanical engineer 2-3 weeks before delivery.
3. Delivery logistics. Pod delivery requires truck access, unloading equipment (typically pallet jack or lift gate), and interior access route. For multi-pod deployments, the delivery sequence should match the installation sequence to minimize on-site staging.
The pre-install checklist that prevents 90% of delays
Our internal data across 200+ mini office installations shows that projects following the pre-install checklist below complete on schedule 92% of the time, versus 58% for projects without formal pre-install verification. See our Mini Office Design Layouts for guidance on planning multi-pod placement before ordering. The checklist covers: ceiling height verified against pod spec + clearance; floor levelness measured with laser level; power source identified and circuit capacity confirmed; access route measured (all doors, corridors, and elevators along the delivery path); delivery date confirmed with building management for loading dock reservation.
Step 1: Site Preparation and Clearance Verification
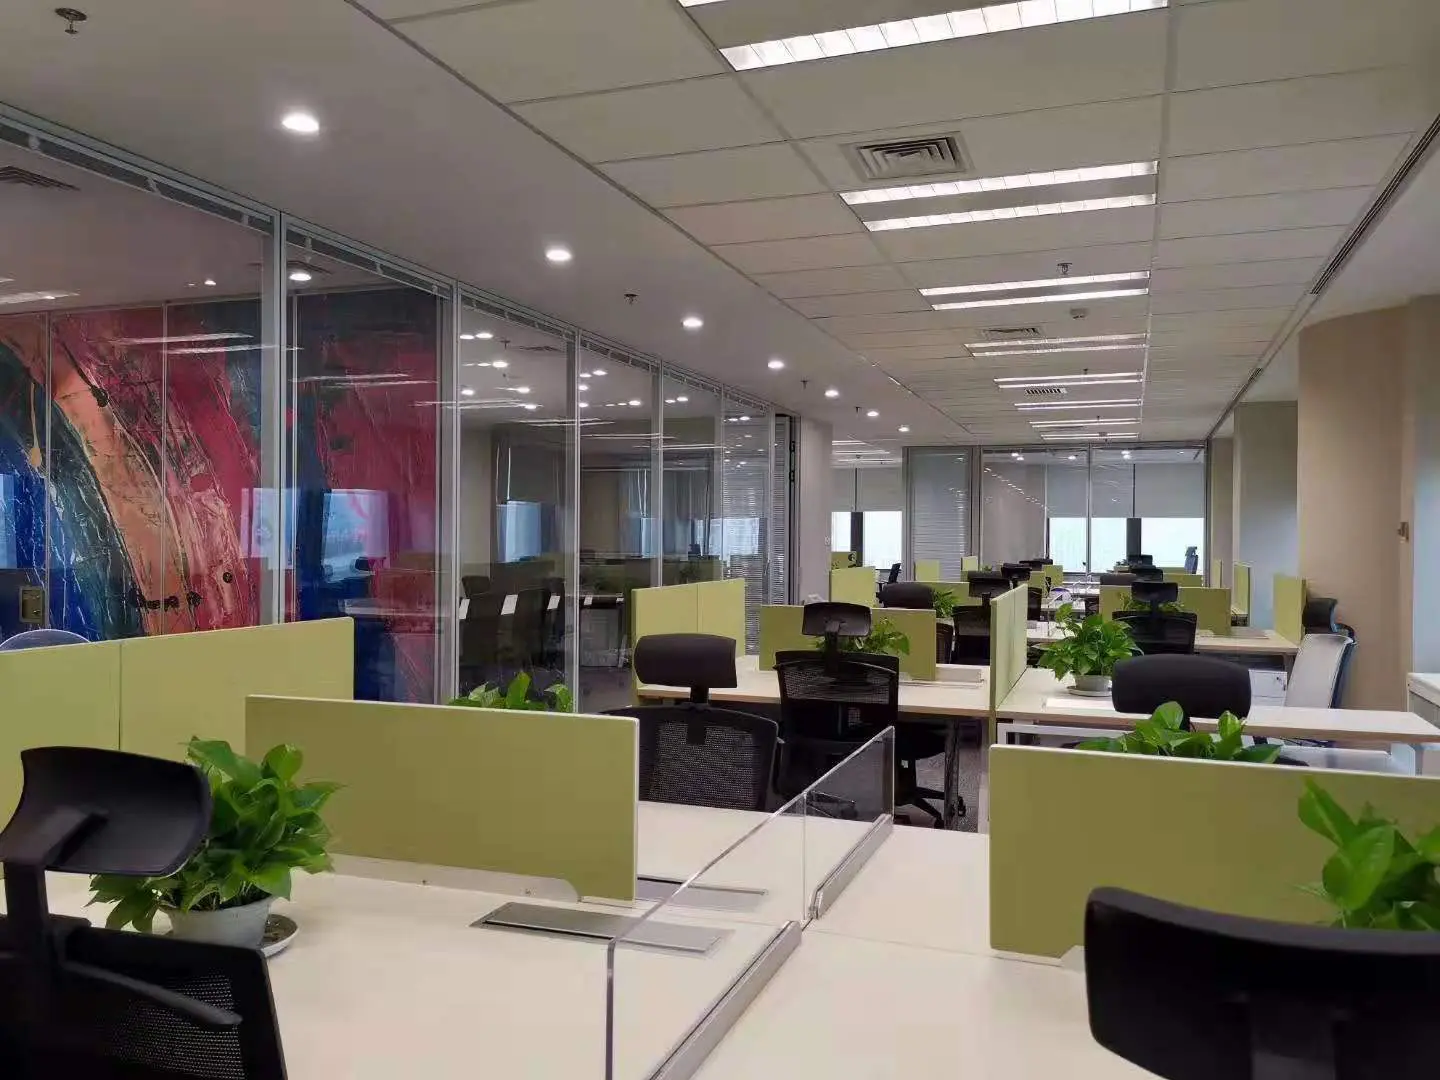
Site preparation is the foundation of every successful mini office installation. This step happens 3-5 days before delivery and takes 2-4 hours depending on site conditions.
Three site prep sub-tasks
Clear the installation area. The pod footprint plus 60 cm perimeter working space must be completely cleared of furniture, boxes, and floor debris. This creates the working envelope needed for panel handling and assembly. For a standard 2m × 2m single-person pod, plan to clear approximately 3.2m × 3.2m of floor area.
Verify overhead clearance. Ceiling height must be measured at multiple points across the pod footprint (a single measurement at the center often misses ductwork, sprinkler heads, or light fixtures that intrude into the required clearance zone). Most mini office installation specifications require pod height + 30 cm minimum for top panel access, and pod height + 45 cm if the pod includes overhead ventilation ductwork.
Verify floor conditions. The floor must be flat within ±3 mm across the pod footprint (measured with a 2 m laser level). Uneven floors require leveling shims, and floors with significant slope (>1%) may need pre-installation leveling by a flooring contractor. Also verify floor load rating — standard office pods weigh 300-600 kg, which most commercial office floors easily support, but raised access floors and mezzanines may require load calculation.
The clearance measurements that prevent 60% of delays
The single most common cause of mini office installation delay is discovering a clearance issue on delivery day. Overhead ductwork, structural beams, sprinkler heads, and low-hanging light fixtures all intrude into the required clearance zone in ways that are not obvious from ground-level visual inspection. Use a laser distance measurer to check ceiling clearance at all four corners of the pod footprint AND at the center point, not just one measurement. Consult our Office Pod Buying Guide for the specific dimensional requirements of common pod models.
Step 2: Delivery and Staging
Delivery day is the highest-risk phase of any mini office installation. Coordinate with building management 48 hours in advance to reserve the loading dock and any freight elevators along the delivery path.
Delivery logistics coordination
Loading dock and access. Mini office pods typically ship on pallets or in crates measuring approximately 2.4 m × 1.2 m × 1.4 m. Verify that all doorways, corridors, and elevators along the delivery route can accommodate this footprint. Freight elevators typically have 2.0 m × 1.5 m cabin size and 1.8 m door height — measure your specific elevator before scheduling delivery.
Unloading equipment. Pods weighing over 200 kg (most standard configurations) require a pallet jack minimum, and heavier units (600+ kg) require a powered lift or forklift with lift gate. Confirm what equipment the delivery team brings and what the site provides. Our commercial partition specifications guide covers similar delivery coordination for solid partition systems.
Staging area. Pods are typically staged near the install location for 30-60 minutes while packaging is removed and pre-assembly inspection is completed. This staging area should be within 15 m of the final install location to minimize post-unpacking handling.
Inspection during delivery
Every pod component should be inspected as it’s unpacked, before the delivery team leaves. Check panel finishes for shipping damage, verify all hardware bags are present (typically 6-10 hardware bags per pod), and confirm glass panels are intact. Damaged components should be documented with photographs and reported to the manufacturer within 24 hours of delivery. Note that visible damage on the packaging or crate is often a signal of hidden damage inside — inspect thoroughly even when the outer packaging looks pristine.
Step 3: Structural Assembly
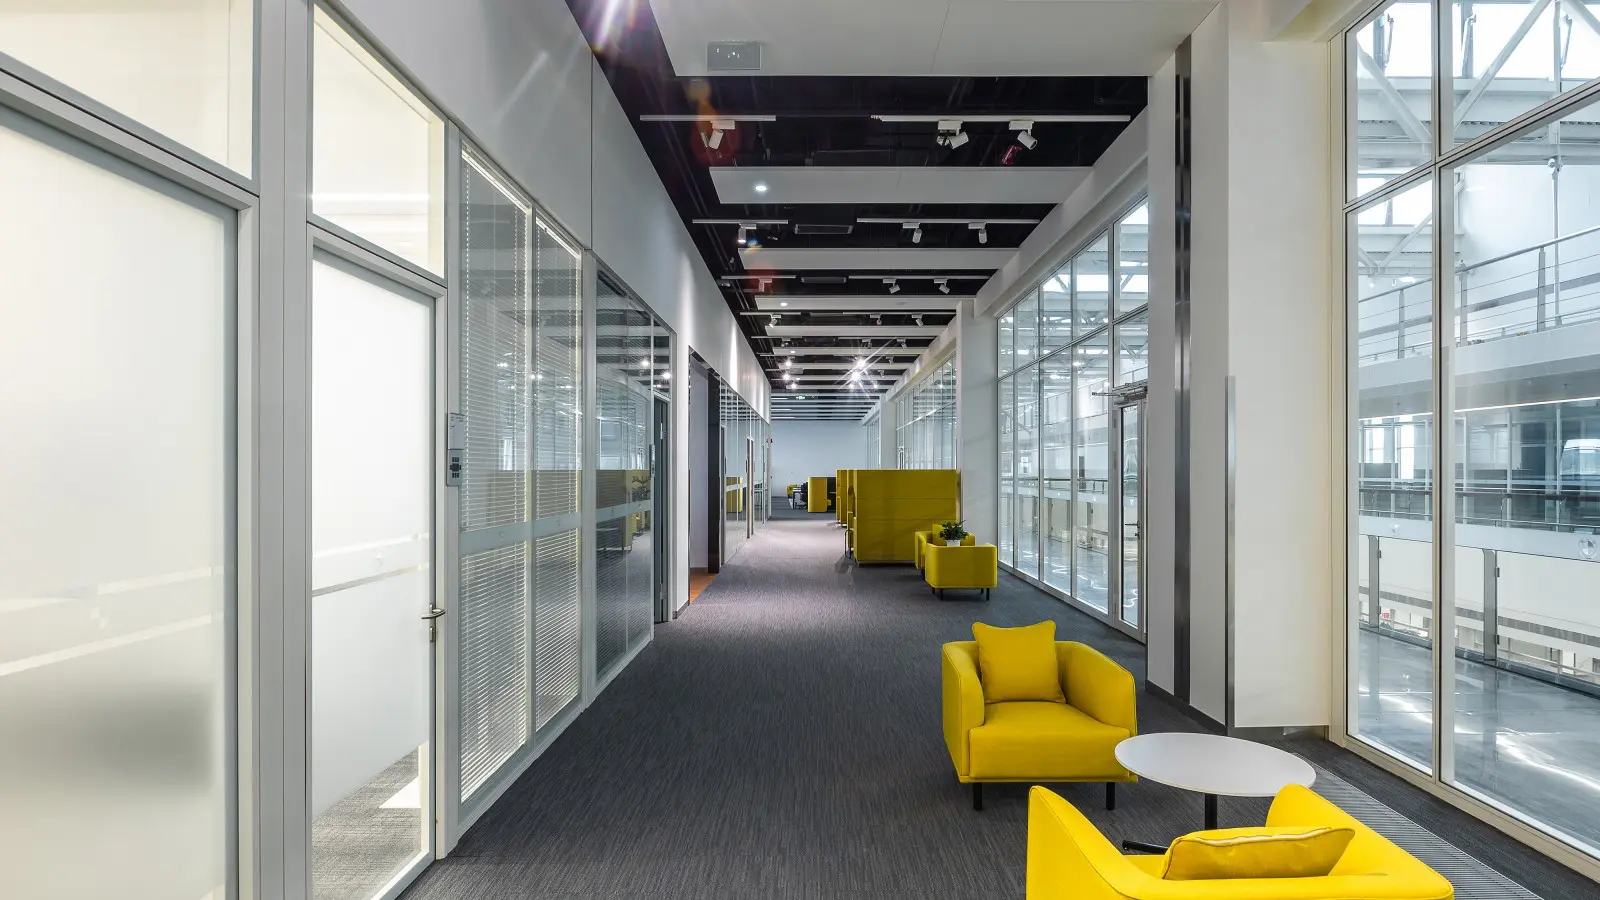
Structural assembly is the phase that most installers focus on, but the assembly step actually accounts for only 30-40% of total mini office installation time when site prep and utility coordination have been done properly. A two-person team typically completes assembly in 90-180 minutes per pod.
Standard assembly sequence
1. Base frame placement. The base frame is positioned and leveled using shims if required. Frame level is verified with a 2 m laser level to ±2 mm across the diagonal — precision at this step determines whether wall panels align cleanly.
2. Corner posts and vertical framing. Corner posts are installed and plumbed vertically. Vertical alignment is critical — even 5 mm of post lean creates cumulative misalignment across the wall panel installation and can prevent doors from closing properly.
3. Wall panel installation. Wall panels are installed in the sequence specified by the manufacturer (usually starting at the corner opposite the door and working around). Glass panels require two-person handling and specialized suction lifters for panels over 40 kg. Our solid partition wall installation guide covers similar panel handling techniques.
4. Ceiling installation. Ceiling panels or roof structure is installed after all wall panels are in place. This is the moment when ventilation ducts, if externally connected, are aligned with the ceiling penetrations.
5. Door installation. Doors are installed and adjusted last. Door alignment issues almost always trace back to earlier assembly imprecision — a door that won’t close properly usually indicates that wall panels or corner posts are not perfectly plumb.
Quality checks during assembly
Verify frame plumb after every 2-3 panels installed (not just at the end). Check that panel joints have consistent 3-5 mm gap for gasket sealing. Confirm hardware torque per manufacturer specifications — over-tightened bolts can distort frames, and under-tightened bolts create vibration and rattling that emerges after a few weeks of use. Follow the acoustic sealing best practices covered in our double glazed glass partition acoustic guide.
Step 4: Electrical and Ventilation Integration
Utility integration transforms an assembled pod into a functional workspace. This step typically requires a licensed electrician for permanent wiring connections, though many pods use plug-in configurations that homeowners or facilities staff can complete without electrical trade involvement.
Electrical integration
Circuit requirements. Every mini office installation should have a dedicated 20A circuit (US) or 16A circuit (EU/international) for pod-integrated lighting, ventilation, and outlets. Sharing circuits with adjacent workspaces creates the risk that a colleague’s space heater trips the breaker for an occupied pod during a video conference. Reference the NFPA 70 (National Electrical Code) for circuit specifications.
Outlet placement. The circuit outlet should be within 3 m of the pod footprint. Outlets located farther away require extension cords, which create tripping hazards and are prohibited by workplace safety regulations for permanent installations under OSHA 29 CFR 1910.305.
Data connections. Ethernet drops should be run concurrently with electrical (typically Cat 6A or Cat 7 cabling). WiFi-only pods work in principle but suffer performance degradation when multiple pods cluster in the same area, competing for the same access point.
Ventilation integration
Air quality standards. Mini office installation ventilation must meet ASHRAE 62.1 ventilation requirements for occupied enclosed spaces (typically 5-10 L/s per person minimum). Pods with self-contained fan units meet this specification for single-occupant use.
Ducted vs self-contained. Ducted pods connect to building HVAC via flexible ductwork through the pod ceiling — this provides best air quality but requires mechanical trade involvement. Self-contained pods use integrated fans and filters — simpler installation but slightly less effective for air quality (adequate for single-occupant use, marginal for two-person pods). Our WELL certified office design guide covers ventilation standards in detail.
Acoustic considerations. Fan noise should not exceed 35 dBA measured inside the pod — this is important because occupants perceive fan noise as much louder in enclosed spaces than in open offices. Test the ventilation system with the door closed before handover.
Step 5: Handover and Post-Installation Checklist
The handover phase is where many mini office installation projects fail — installers complete the physical work but skip the documentation and verification steps that ensure the pod actually works as specified. A structured handover takes 30-45 minutes and prevents the “week two problems” that emerge when small defects are missed at install time.
Post-installation verification checklist
Functional verification. Test all outlets with a plug-in tester, verify lighting operates at all switch positions, confirm ventilation fan operates and moves air, and check door latches and closes properly. Any defects at this stage should be corrected before the installer leaves.
Acoustic verification. Measure background noise inside the pod with a sound level meter (or smartphone app for informal check). Fan-off noise should be under 30 dBA and fan-on noise under 35 dBA. Higher readings indicate installation issues (loose panels, gasket gaps, or improperly tensioned fan mounts).
Visual inspection. Walk around all four sides of the pod inspecting for panel gaps, gasket alignment, and finish damage. Any issues should be documented with photographs and included in the handover report. Our executive office design elements guide covers similar quality verification approaches.
Documentation for facilities and warranty
The handover package should include: as-built floor plan showing final pod location and dimensions, electrical circuit assignment documentation, ventilation flow rate measurements, warranty registration completed with manufacturer, maintenance schedule (typically quarterly filter change for ventilation, annual gasket inspection), and installation team contact for warranty issues. Storing this documentation with the facilities manager prevents the common problem of “we don’t know who installed this” three years later when a warranty issue emerges.
User orientation
New users should receive a 10-minute orientation covering: how ventilation controls work, what noise levels to expect, how to report issues, and cleaning/care instructions for glass surfaces. Users who receive orientation report satisfaction scores 25-40% higher than users who discover the pod without briefing. See our coworking space partition design guide for space activation best practices.
Frequently Asked Questions
How long does a typical mini office installation take?
A single-pod mini office installation typically completes in 4-8 hours from delivery to handover, assuming pre-installation planning is complete. Multi-pod deployments take approximately 60-70% of single-pod time per additional unit due to setup efficiencies. Complex sites with utility coordination challenges can extend to 1-2 days.
Do I need a permit for mini office installation?
Mini office installations in existing commercial spaces typically do not require building permits since the pods are considered furniture rather than construction. However, electrical work for dedicated circuits may require electrical permits depending on local jurisdiction, and ducted ventilation connections may require mechanical permits. Check with your building management and local authority before installation.
What clearance space do I need around a mini office pod?
Plan for 60 cm minimum perimeter clearance on all four sides for maintenance and cleaning access, and 30-45 cm overhead clearance above the pod for top panel access and ventilation ductwork. ADA-compliant installations require an additional accessible route around at least one side of the pod meeting ADA Standards minimum path widths.
Can mini office installations be moved after installation?
Yes, most modern mini office pods are designed for disassembly and relocation. Typical disassembly time is 60-70% of original installation time, and pod components can typically be reused 3-4 times before hardware fatigue becomes a concern. Plan for approximately 15-25% of original installation cost for each relocation.
Do mini office pods need fire sprinkler coverage?
Fire code requirements depend on jurisdiction, pod ceiling type, and building sprinkler configuration. Pods with open-top designs (no full ceiling) typically inherit building sprinkler coverage. Pods with fully enclosed ceilings may require dedicated sprinkler heads inside the pod if they exceed certain floor area thresholds (typically 50-100 sq ft depending on jurisdiction). Consult a fire protection engineer for specific project requirements. See our fire rated glass partition guide for related fire safety information.
Get Professional Mini Office Installation Support
MS Office Systems provides complete mini office installation services including pre-installation site assessment, delivery coordination, professional assembly by trained teams, and post-installation handover documentation. Whether you’re deploying a single pod or a multi-unit workspace, our installation team handles the coordination that separates a smooth 4-hour install from a two-day delay.
Related resources: Office Pod Buying Guide · Mini Office Design Layouts · Solid Partition Installation Guide · Paint Glass Partition Colors · Browse Mini Office Products